Placing and Modifying the Text
With both the layers visible and the text layer selected, choose the move tool (the crossed arrows) in the main panel. Now move the cursor over the text we added to the image, noticing that the cursor changes between a hand when you're over the background and a move icon when you're over the text. In fact, if you click and drag on the background rather than the text, you'll move the background. Remember that you can undo mistakes with Ctrl-Z. Move the text to where you think it looks best.
With the text layer still selected, right-click on the image and choose "Layers -> Layer to Imagesize." This will increase the size of the text layer to match that of the image. The utility of this change isn't particularly obvious at this point, but it's helpful in some of the changes we'll be making later, it doesn't cause any problems, and I find the layer border (the yellow and black checked line mentioned earlier) distracting. This is one of several ways to resize a layer.
Now duplicate the layer. to do this, make sure the text layer is selected in the "Layers, Channels & Paths" window, then press the doubled piece of paper.
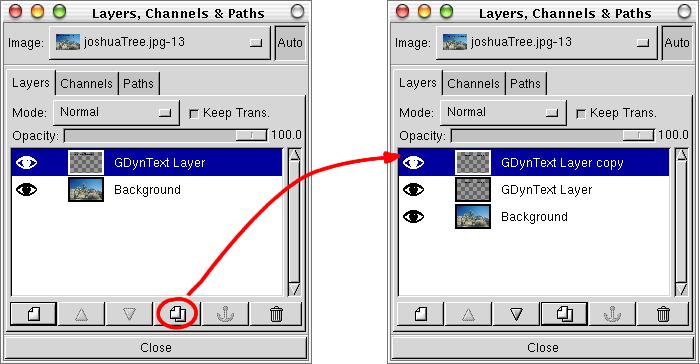
Duplicating a layer in the Layer dialogue box.
So you have two copies of the text. It doesn't look any different ... Since they're in exactly the same place, they overlay each other and the original copy can't be seen because of the new copy.
Let's keep better track of our layers - we can name them, and this will become very useful when you start working with multiple layers. Go to the "Layers, Channels & Paths" dialogue box, and double-click on the new copy. Replace "GDynText Layer copy" with something like "Text". I use this rather than "Joshua Tree Monument" because it's much shorter and I only have one piece of text to work with so it remains unambiguous. Do the same thing for "GDynText Layer," calling it "Text Shadow."
We're now going to blur the "Text Shadow" layer, so make sure it's selected in the "Layers, Channels & Paths" dialogue box. I would also recommend that you make the top layer ("Text") invisible by clicking on the eye icon, but this isn't strictly necessary. Also in the Layers dialogue, make sure that "Keep Trans." is NOT set. It's usually set, and we want to turn it off. Blurring (which is what we're headed for here) won't work with "Keep Trans." Now right-click on the image, select "Filters -> Blur -> Gaussian Blur (RLE)". There's not a lot of practical difference between RLE and IIR (I don't claim to understand it either), but the authorities tell me RLE is slightly better to use on computer generated images. You'll now be presented with a dialogue box like the following:
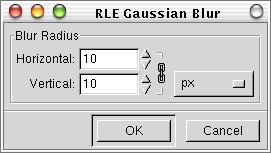
The RLE Gaussian Blur dialogue box.
Set the Blur Radius to 10 and press OK. This should result in the text you've been looking at being replaced by a very blurry version of itself. This is going to be our drop shadow. But being a drop shadow, you don't want it directly behind the original, but offset down and to one side. There are two ways to do this: either click and drag it, or use the "Offset" menu item. The problem with click and drag in this case is that you can't see the Text layer - but if you turn its visibility back on, then it's hard to click on the shadow to drag it because it's hiding behind the top layer ... So I use "Image -> Transforms -> Offset ..." (I'll assume from now on that you know to right-click on the image to get at the menus). This brings up another dialogue box:
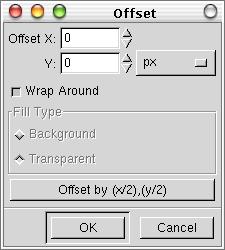
The offset dialogue box.
To move the shadow down and right enter "7" and "7" (an appropriate offset depends on the font size - this works well with the 50 pixel font used here). After saying OK to this, turn the visibility of the top layer of text back on. I felt that the appearance of the shadow was too heavy, so I went back to the "Layers, Channels & Paths" window where to move the Opacity slider for the "Text Shadow" layer down to 50. This leaves the shadow still visible, but not obvious. When you have a very heavy drop shadow, it's more obvious how the 3-D effect is created and it can lose some of its magic because of that. Subtlety is a good thing ...